Not rated yet
Additional Links
You may find some useful information by following these links
https://www.curseforge.com/minecraft/mc-mods/exposure
https://modrinth.com/mod/exposure
Share this post
Exposure Mod
The Exposure mod adds a fully functional camera system to Minecraft, letting you take real photographs of your world, develop film, and print physical pictures you can frame and display in-game.

This is a step-by-step walkthrough of the full Exposure workflow, from crafting your first camera to displaying a finished photograph.
Crafting the Camera
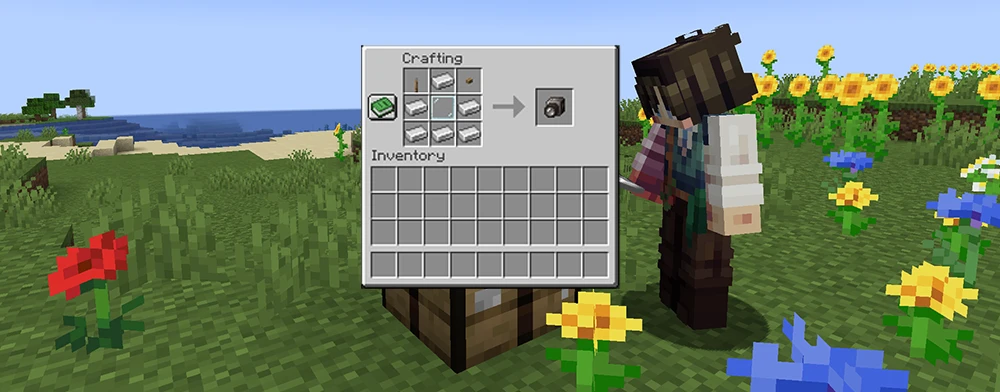
Craft the Camera using Iron Ingots, a Glass Pane, a Lever, and any Button.
The Camera is crafted with Iron Ingots, a Glass Pane, a Lever, and any Button. Once you have it, you will also need a film roll before you can shoot anything.
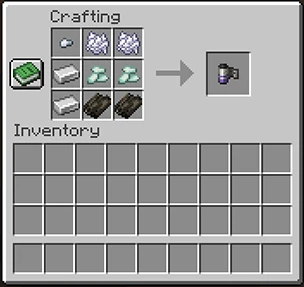
There are four film types:
Black and White Film
Iron Ingots, Bone Meal, Gunpowder, Dried Kelp. The cheapest option to get started.


Color Film
Gold Ingots, Lapis Lazuli, Gunpowder, Dried Kelp. Required for full-color photographs.
High-Sensitivity Black and White Film
Same as B&W but with Prismarine Crystals instead of Gunpowder. Better in dark environments.

High-Sensitivity Color Film
Same as Color but with Prismarine Crystals. Best choice for caves or nighttime shots.
Each roll holds 16 frames.
Loading the Camera
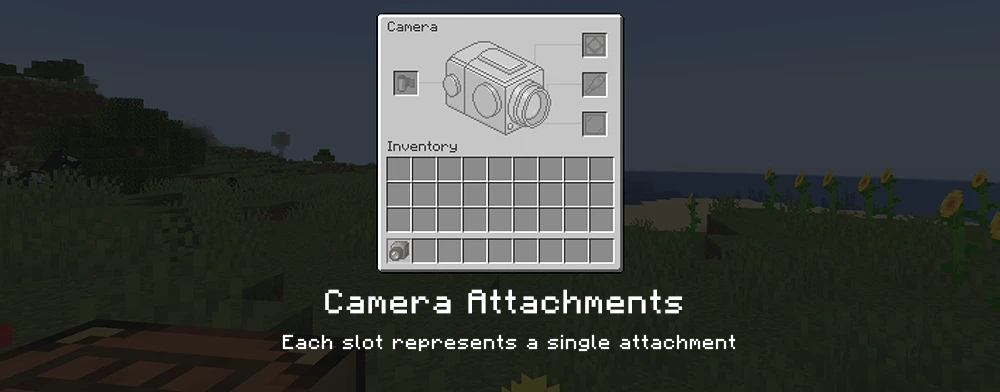
Right-click while sneaking to open the Camera Attachments screen. Load your film roll into the Film slot. You will see a frame counter appear on the camera tooltip once it is loaded.
While you are here, you can also set up the other attachment slots:
Flash - insert a Redstone Lamp. Set it to On, Off, or Auto (fires when light level is below 8).
Lens - a Spyglass extends zoom range from 55mm to 200mm. You adjust it with the scroll wheel while in the viewfinder.
Filter - any stained glass pane tints the image. Different colors give different results.
Taking Photos

Right-click to open the viewfinder. Hold Sneak to bring up the controls panel on the right, where you can adjust Shutter Speed, Focal Length, Flash Mode, Self-Timer, and Composition Guides. Left-click to take the shot.
The Shutter Speed setting affects exposure. Slower speeds let in more light, which helps in dark areas but can wash out bright scenes. Fast shutter speeds are safe in most outdoor situations.
When you hear the film advance sound after the 16th shot, the roll is full and ready to develop.
Developing the Film
Renaming/Developing Films
Combine your used film roll with the required potions in the crafting table to develop it.
A used roll needs to be developed in the crafting table before you can print anything from it.
Black and White Film - combine with a Water Bottle.
Color Film - combine with an Awkward Potion, a Thick Potion, and a Mundane Potion.
After developing, you get a Developed Film item. Right-click it to browse through individual frames and decide which ones you want to print.
If you have the Create mod installed, color film development can be automated using a Spout in a sequenced assembly setup, filling the film with all three required potions in order.
Printing with the Lightroom
Using the Lightroom
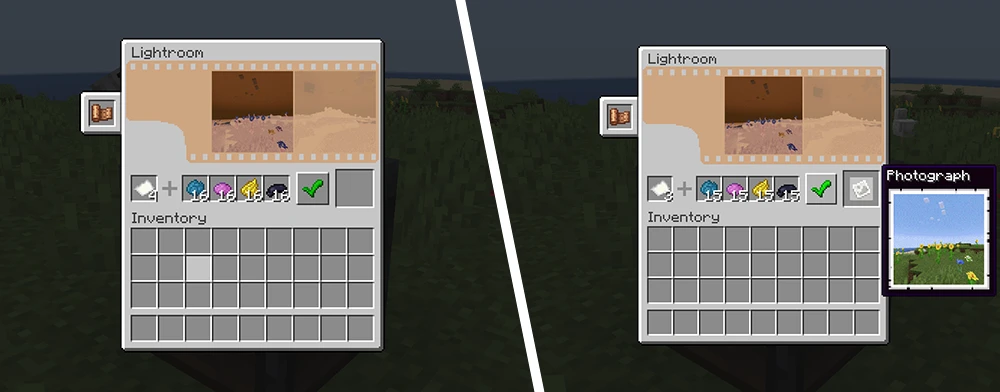
Insert your developed film into the Lightroom, browse your frames, and hit Print to produce a physical photograph.
Craft the Lightroom with an Iron Trapdoor, a Redstone Torch, and any Planks. Place it down and right-click to open the interface.
Insert your developed film, browse to the frame you want using the arrows, then hit Print. You will need to supply materials depending on the film type:
B&W print - Paper and Black Dye
Color print - Paper, Cyan Dye, Magenta Dye, and Yellow Dye
The Lightroom needs a minimum light level to operate. If the area is too dark, the Print button will be grayed out.
For Chromatic printing mode, place a Tinted Glass block directly on top of the Lightroom. This mode is used to print photographs captured as separate RGB color channels.
Photographs and Displaying Them
Displaying Photos in a Frame
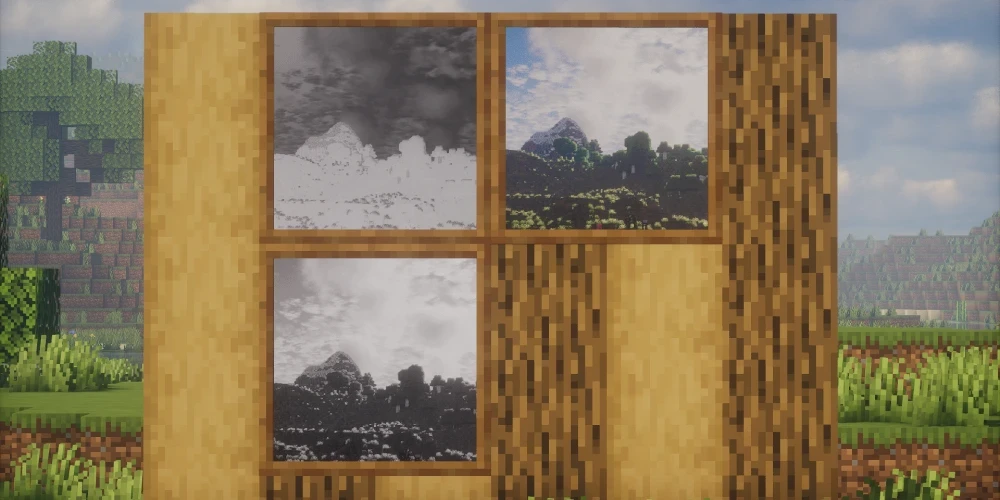
Photograph Frames come in three sizes and can be mounted on walls, floors, and ceilings.
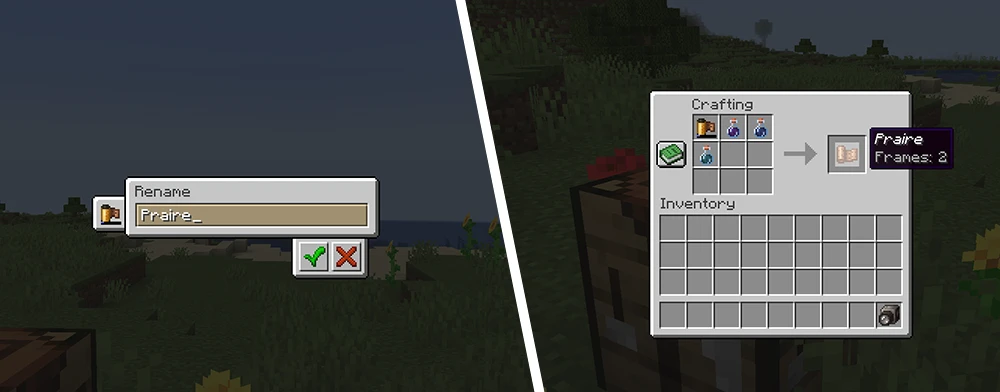
Craft a Photograph Frame using Sticks, Planks, and an Item Frame. These come in three sizes: 1x1, 2x2, and 3x3. They can go on walls, floors, or ceilings. Right-click the frame to insert a photo.
Wrap a Photograph Frame in Glass Panes to upgrade it to a Glass Photograph Frame, which gives the displayed photo a cleaner, glassy look. Adding a Glow Ink Sac to either frame type makes it emit light in the dark.
Crafting the Photo Album
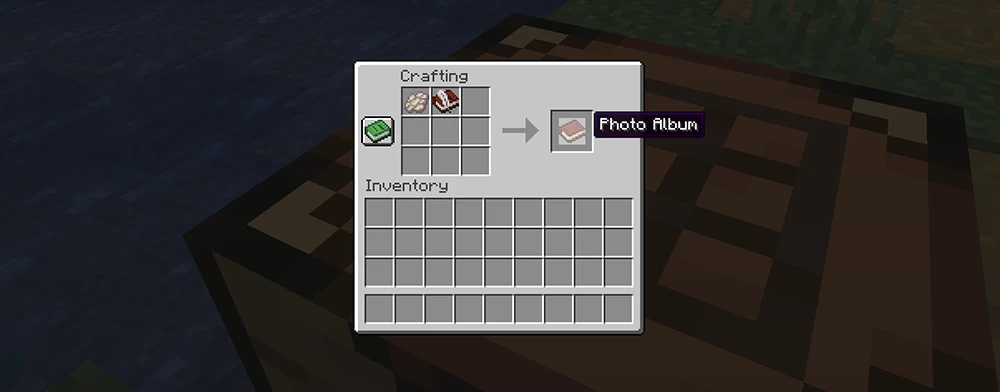
Craft a Photo Album using a Book and Quill and a Phantom Membrane to store and annotate your photographs.
For storing a collection, craft a Photo Album from a Book and Quill plus a Phantom Membrane. Albums hold many photos across multiple pages with room for notes on each page. Sign it to lock it as a finished keepsake, and it can be placed on a Lectern for others to read through.
Camera Stand and Interplanar Projector
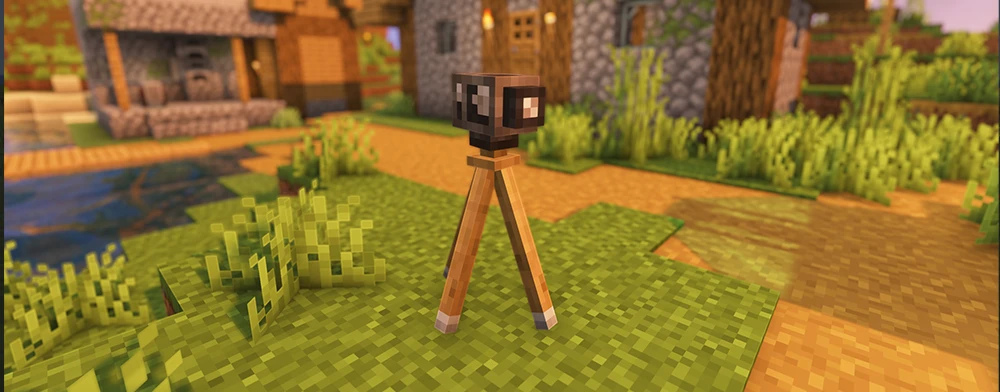
Camera on Tripod
Mount your Camera on the Camera Stand for stable, hands-free shots and group photos using the self-timer.
The Camera Stand (Iron Ingots + Sticks + Smooth Stone Slabs) lets you mount the camera at a fixed position for group shots or self-timer photos. Nearby mobs will look toward the camera when the timer is ticking. It also responds to Redstone signals for automation.
The Interplanar Projector (Tinted Glass + Redstone + Ender Eye) is the wildcard item. Rename it via Anvil to a URL or local file path, then use it as a camera filter. The next shot will capture that external image instead of the in-game view. It gets consumed on use, and breaks into a Broken Interplanar Projector if it times out or fails, which can be repaired with an Ender Eye.
World Loot
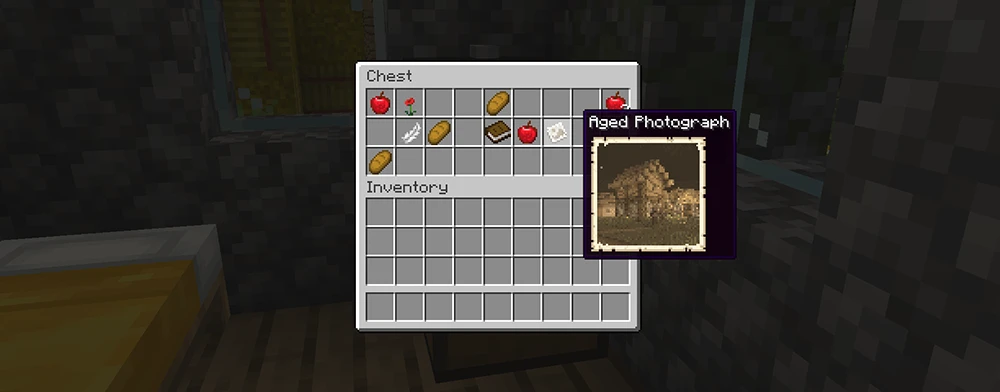
Finding Aged Photograph
Aged Photographs can be found in village houses, mineshafts, dungeons, and shipwrecks as world loot.
You do not have to take every photo yourself. The mod adds photographs to several existing loot chests across the world:
Village Plains Houses (30% chance) - Aged Photographs of village life and raid scenes.
Abandoned Mineshafts (20% chance) - Photos of mine tunnels and skeleton encounters.
Dungeons (10% chance) - A photo of a flaming skull.
Shipwrecks (10-15% chance) - Aged Photos of a ship dock, plus partially-developed chromatic film rolls.
That covers everything you need to go from your first camera craft to a fully decorated base with printed photographs on every wall. The mod has more depth than it looks at first glance, especially once you start exploring chromatic printing and the Interplanar Projector.
