Rated 5.0/5.0 by 1 user
Creators and Publishers
Titux
PublisherAdditional Links
You may find some useful information by following these links
https://www.curseforge.com/minecraft/mc-mods/minecolonies
Share this post
MineColonies Mod Mod
Have you ever wanted to build your own fully functioning town inside Minecraft, complete with workers who gather resources, craft items, cook food, and defend your borders all on their own? MineColonies makes that possible.

This guide walks you through setting up your first colony from scratch. Every step explains what the item or building actually is before getting into how to use it, since most of these are unique to the mod and will not look familiar at first glance.
Step 1: Placing the Supply Camp or Supply Ship
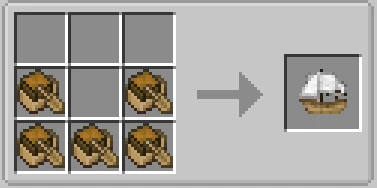
Supply Ship
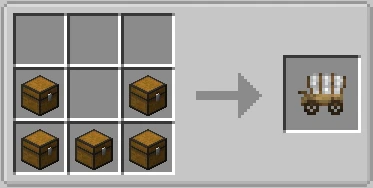
Supply Cart
Before you can do anything else, you need to obtain a Supply Camp or a Supply Ship. These are deployer items, meaning they are single-use items that place down a large pre-built structure when used, rather than a block you place normally. The Supply Camp is a small wooden campsite built on land, while the Supply Ship is a wrecked ship structure that sits on water. Both serve the exact same purpose and contain identical contents, so which one you pick depends entirely on whether you are starting on land or near a coastline.
You craft the deployer item in a normal crafting table, then place it not with the Build Tool, but by right-clicking it directly onto the ground or water like you would a block. The game will check the surrounding area automatically: the Supply Camp needs a roughly 16x17 area of flat, solid ground with nothing in the way, while the Supply Ship needs an open stretch of water of a similar size. If the spot does not qualify, the item will not place and the game will tell you why (uneven terrain, not enough water depth, or being too close to another colony).
You can only place one Supply Camp or Supply Ship per world by default. If you place it in the wrong spot, there is no undo, so scout the area first.
Once placed, walk inside the structure and open the chest you find there. Inside is a Town Hall block and a Build Tool. These are the two most important items in the entire mod, so make sure to grab both before moving on.
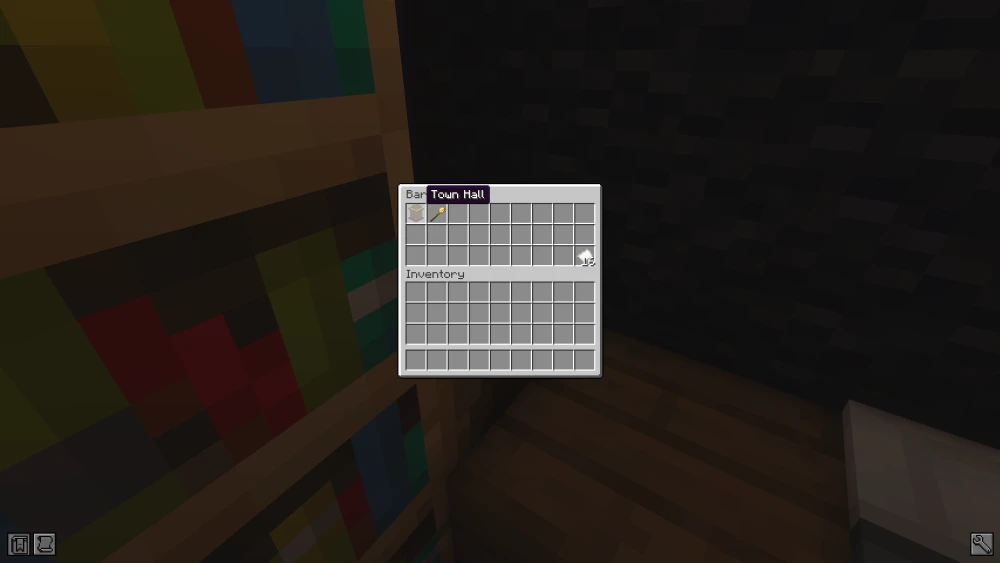
Starter Chest
The starter chest always contains exactly these two items: the Town Hall block and the Build Tool.
Step 2: Placing the Town Hall
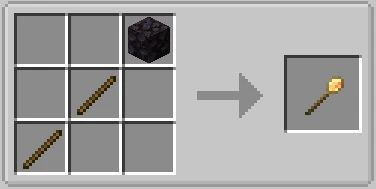
Build Tool
The central interface for placing every single building in MineColonies, and you will be using it constantly from this point forward.
Unlike a normal block, you do not just right-click it onto the ground. Instead, equip it and right-click to open a placement menu, where you pick a building type and a visual style for it.
The tool then shows you a translucent, see-through hologram of the building hovering in the world, which you can move, rotate, and reposition freely before committing to it. This preview system exists specifically so you never end up with a building clipped into terrain or facing the wrong way.
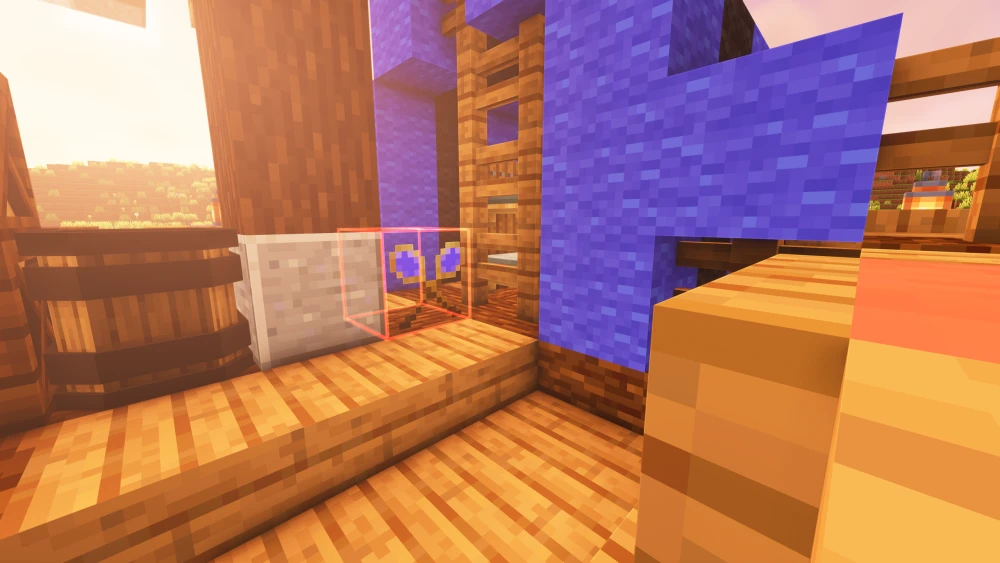
Holographic Preview
The hologram preview lets you walk around and check the building's footprint before it goes down for real.
The Town Hall is the very first building you place with the tool, since it is what officially creates your colony. Open the Build Tool, select the Town Hall block you picked up from the supply chest, choose a visual style, and position the hologram somewhere open and central. Whatever direction you face the Town Hall, the colony's protected territory will expand outward from that point in a roughly square area measured in chunks, so think about how much room your colony will eventually need.
Placing the Town Hall too close to another existing colony will fail. The game will tell you the minimum distance if this happens.
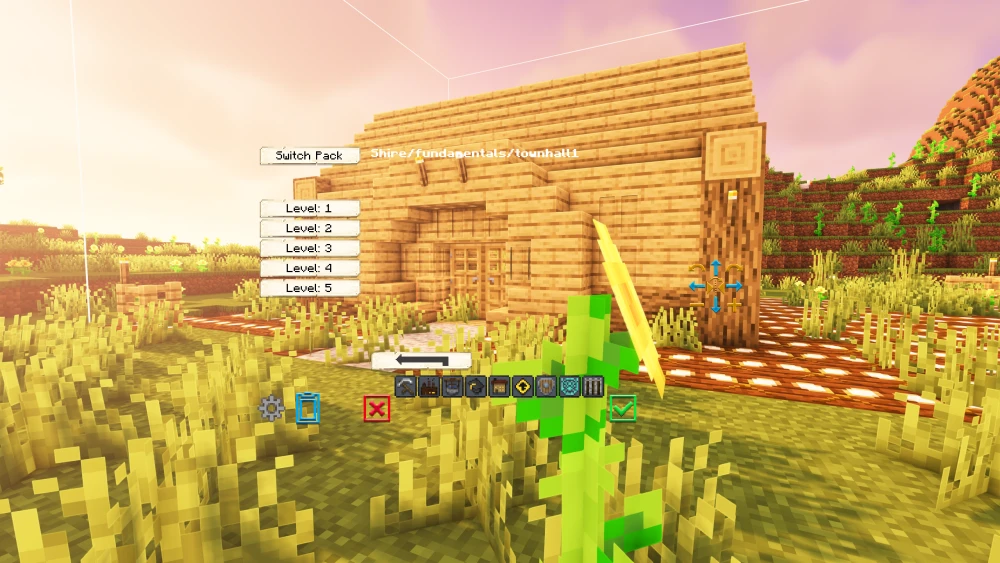
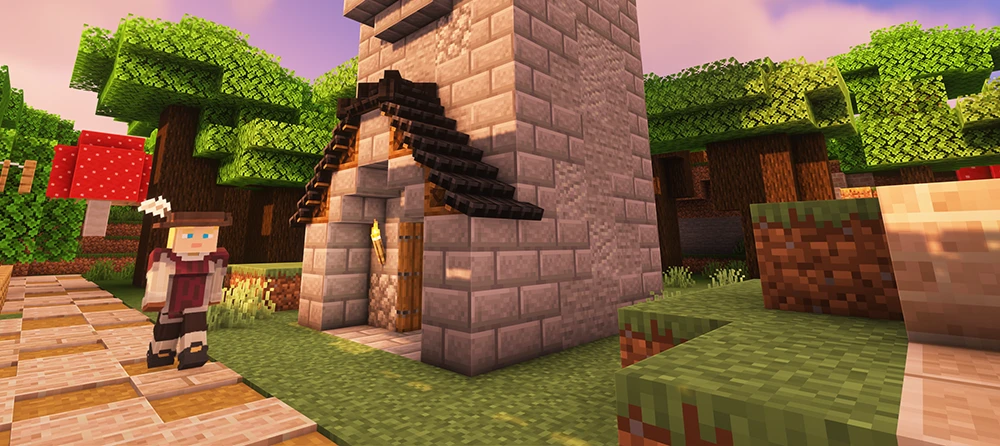
The Townhall
Use the Build Tool to position the Town Hall exactly where you want your colony centered.
Once you confirm the placement, walk up to the physical Town Hall block and right-click it, then select Create New Colony from the menu that appears. After a short delay, your first four citizens will spawn nearby. These are unemployed by default until you assign them a job.
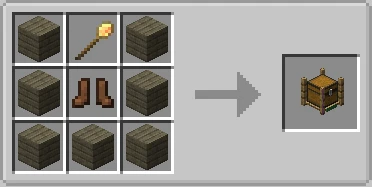
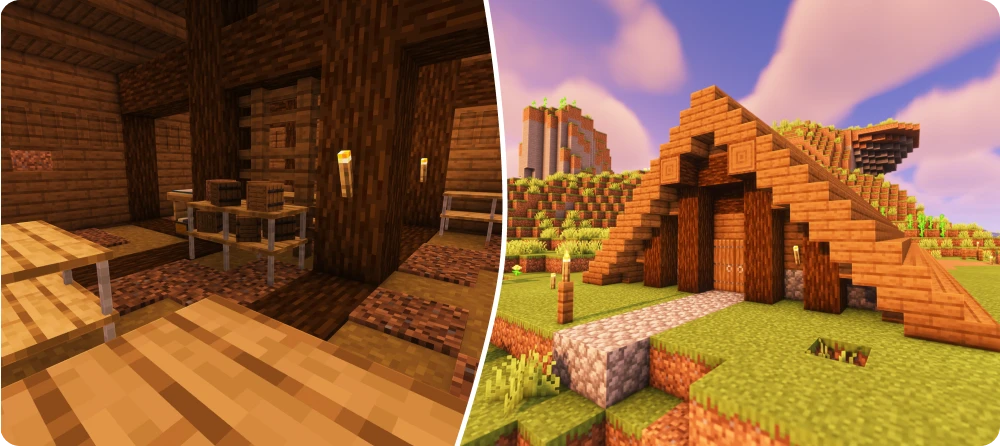
Step 3: Building the Builder's Hut
The Builder is a worker type, and they are the single most important citizen in your colony because every other building, with the sole exception of their own hut, requires a Builder to physically construct it. Without one, you can place hologram previews all day, but nothing will ever actually get built.
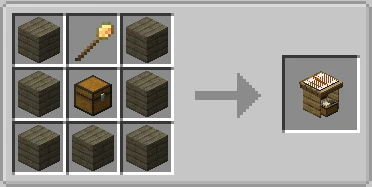
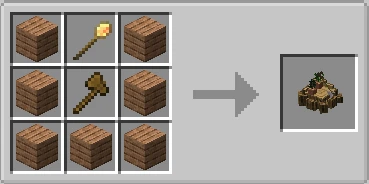
Builder's Hut
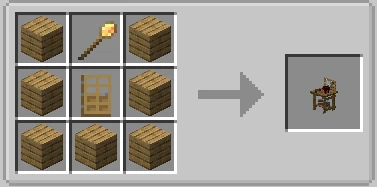
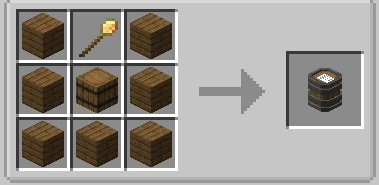
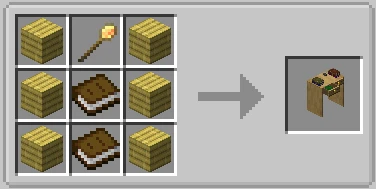
To get a Builder working, you first craft a Builder's Hut block using a Build Tool surrounded by planks in a crafting table, then place it with the Build Tool like any other building.
Open its GUI by right-clicking it, go to the Build Options tab, and click Build Building. A nearby unemployed citizen will automatically be assigned as your Builder, and they will immediately start working, but on their own hut first, since a Builder with no hut of their own cannot build anything else.
While they work, the Builder will periodically request specific materials. Right-click the Builder directly to see their current request, or check the Required Resources tab in the hut's GUI for the full list of everything still needed. Supplying these promptly keeps things moving; leaving the Builder unsupplied for too long will simply stall construction indefinitely.
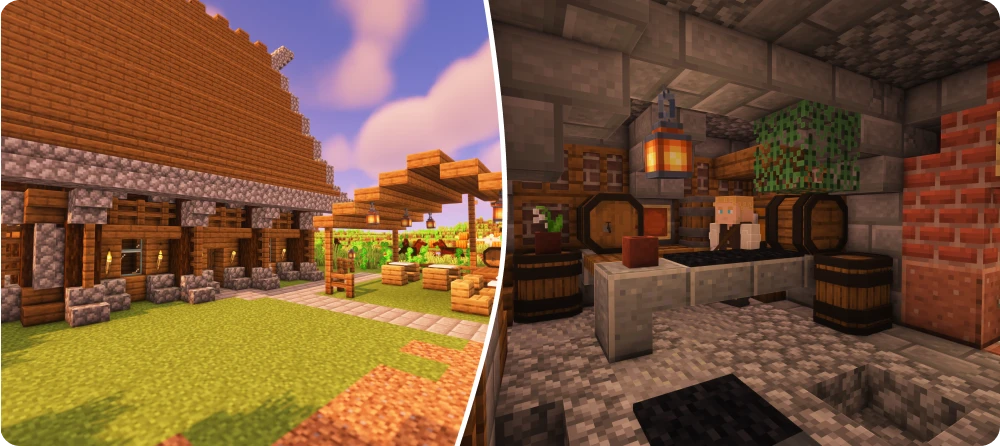
Step 4: Housing Your Citizens
Tavern
Every citizen besides Guards needs a registered place to sleep, or their happiness and work speed will eventually suffer.
The Tavern is normally the first housing building you construct, both because it houses multiple citizens at once and because it is also where new visitor NPCs occasionally show up that you can recruit into your colony as additional citizens.
Tavern
The Tavern doubles as housing and as a recruitment point for new citizens.
As your population grows beyond what the Tavern can hold, you will want to build Residences, which are dedicated single-purpose houses. Each level of a Residence houses exactly one citizen, so a level 3 Residence can house three citizens, and you will likely need several of these scattered around your colony as it expands.
Step 5: Setting Up Food Production
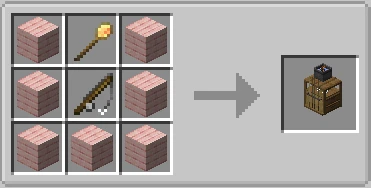
Fisher's Hut
Dining Hall
Citizens need to eat regularly to keep working, and an unfed colony will quickly become an unhappy one. The fastest building to get food flowing early on is the Fisher's Hut, whose assigned worker, the Fisher, will automatically fish from any sufficiently large body of water nearby without needing any fields prepared in advance.
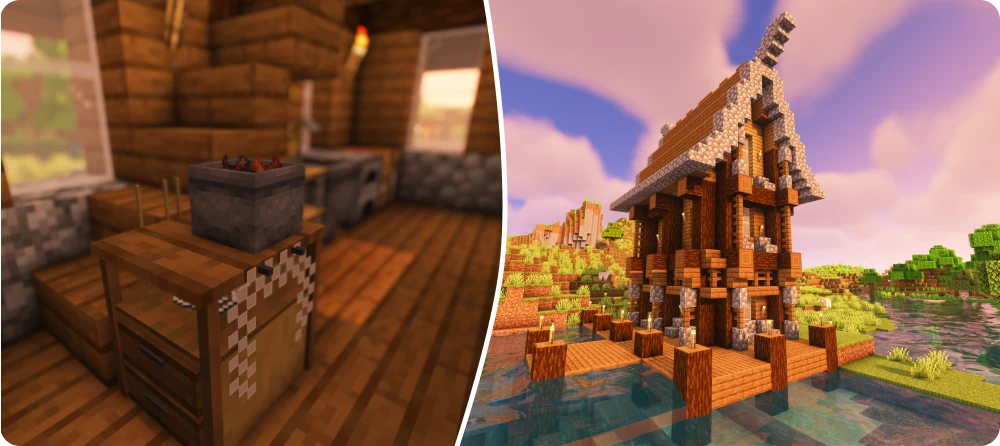
Fisher's Hut
The Fisher's Hut needs a body of water at least seven blocks wide and at least one block deep nearby.
For a more sustainable long-term setup, build a Farm, which is the hut for the Farmer worker. The Farmer needs at least one Field block (visually a scarecrow) placed nearby to mark out where they are allowed to plant and harvest crops. Once you have food coming in from either source, build a Dining Hall, where the assigned Waiter cooks raw food and serves it out to hungry citizens automatically, removing the need for you to hand out food manually.
Step 6: The Warehouse and Courier System
Warehouse
Courier's Hut
Once you have more than a couple of workers producing resources, manually shuttling materials between huts becomes impossible to keep up with. This is what the Warehouse and Courier's Hut solve together. The Warehouse is simply a large storage building filled with Rack blocks, while the Courier is the worker who actually moves items: they pick up excess resources from worker huts and drop them at the Warehouse, then carry needed materials from the Warehouse back out to whichever worker requested them.
Warehouse
The Warehouse becomes the central hub of your colony's supply chain.
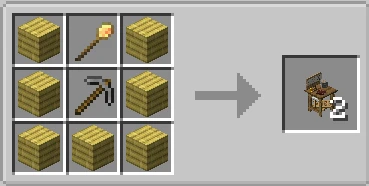
Two handheld items make managing this system easier without needing to walk to the Warehouse constantly. The Clipboard lets you sneak and right-click any hut block to log its open requests onto the clipboard for later review. The Resource Scroll, when linked to a Builder's Hut, snapshots the Warehouse's current stock so you can see at a glance what materials are available without physically checking the racks.
Placing a Postbox and a Stash block somewhere convenient near your base lets you deposit and withdraw items from the Warehouse remotely, without needing to walk all the way there.
Step 7: Resource Production
With logistics handled, the next priority is a steady supply of building materials. Two huts cover the basics:
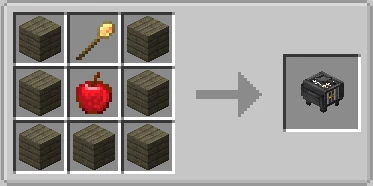
Forester's Hut
Mine
The Forester's Hut houses the Forester, who needs nothing more than an axe to start automatically chopping down nearby trees and replanting saplings in their place. By default they search a fairly wide radius around themselves, not just around their hut, so they can usually keep up with demand on their own once equipped.
Basic Resources
The Mine and Forester's Hut are your two most important early resource buildings.
The Mine houses the Miner, who digs straight down to create a vertical mineshaft, producing stone, coal, and progressively better ores the deeper they go. The Miner needs a pickaxe and shovel at minimum, plus building supplies like ladders, torches, and fence material to construct the mineshaft safely as they descend. If you want bulk stone and gravel instead of a deep vertical shaft, the Quarry building is a separate option that excavates a wide surface-level pit instead.
Step 8: Defense
Once your colony reaches seven citizens, it becomes eligible for raids: random nighttime attacks from hostile NPC factions like Barbarians or Pirates, depending on your biome. It is worth having defenses in place before you cross that population threshold rather than after.
Guard Tower
This is the basic defense building, housing a single Guard who will automatically patrol or stand watch depending on their settings.
Guards come in two flavors depending on what weapon you equip them with: Knights, who fight in melee with swords, and Archers, who fight at range with bows.
Guard Tower
Each Guard Tower houses exactly one Guard, who also sleeps inside the tower itself.
As your colony grows, a single Guard Tower per defender becomes impractical to manage. The Barracks solves this by supporting up to four attached Barracks Towers, each of which can house several Guards depending on the Barracks' overall level. If you want guards to train up safely without the risk of dying in an actual fight, the Combat Academy trains Knights and the Archery building trains Archers, both without any combat risk involved.
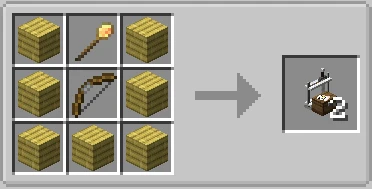
For emergencies, the Rallying Banner item lets you mark Guard Towers in advance by sneak-right-clicking them, then later sneak-right-click the banner itself to instantly call every linked Guard to your current location, useful for regrouping defenses quickly during an active raid.
Step 9: Research at the University
University
Here is where long-term colony upgrades happen, and it works differently from every other building.
Rather than producing a physical resource, the assigned Researcher works through a branching research tree over real time, where each completed research node permanently unlocks something: a new building type, a stat boost for an existing worker, or a quality-of-life feature.
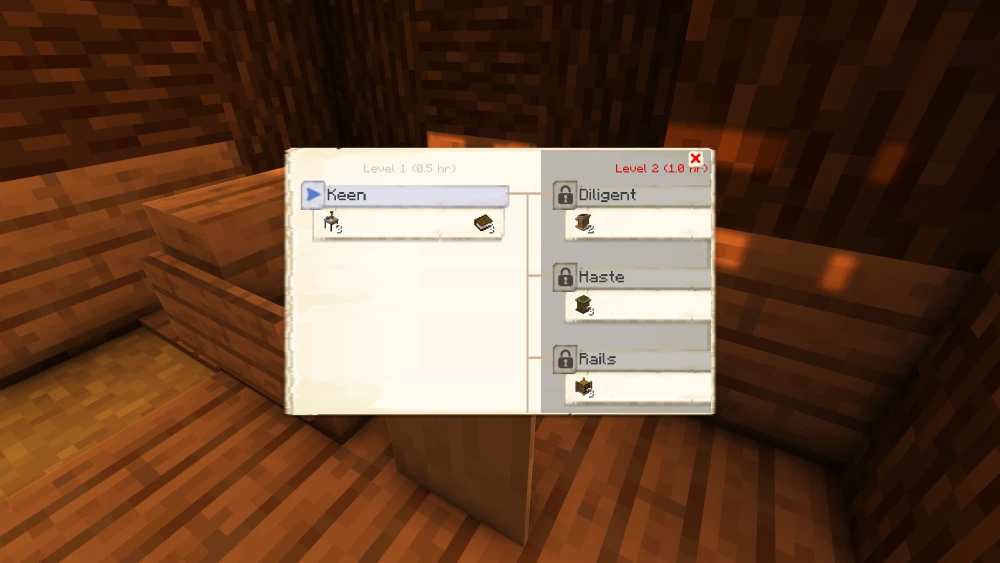
Research Tree
Locked nodes are grayed out until their prerequisites, usually an earlier research or a minimum University level, are completed.
Critically, several buildings covered earlier in this guide, including the Hospital and several production buildings, are completely locked behind specific research nodes and cannot be placed at all until unlocked this way. Because research takes real time to complete and does not stack quickly, getting your University built and a Researcher assigned early on pays off significantly later in the game.
That covers the full early-game loop of MineColonies: gathering your starting supplies, founding the colony, and building out housing, food, logistics, resource production, defense, and research in roughly the order you will need them. Every building mentioned here has its own dedicated info page in-game (accessible from the hut's GUI) and on the official wiki at minecolonies.com if you want to go deeper into any specific worker's mechanics.
